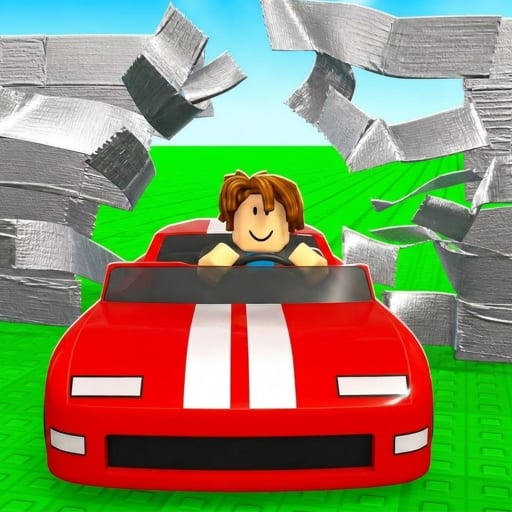
How to Train in Cars VS Tape
Raise speed on purpose, smash with intent, and farm wins without wasted wall runs.
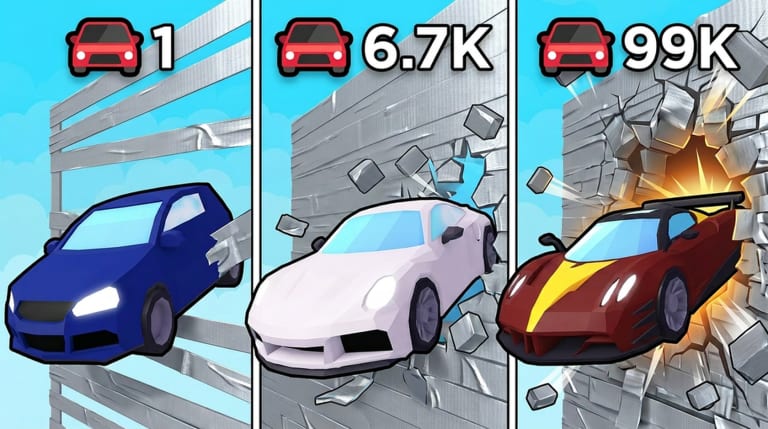
Training is the quiet half of Cars VS Tape on Roblox. The flashy half is smashing tape walls for coins and wins; the productive half is knowing when your car is fast enough to commit. This guide covers treadmill/station habits, smash timing, wins farming, and how training connects to cars, pets, passes, and rebirth inside the experience titled [W3] Cars VS Tape by Speedy Car Games.
Why training exists
Speed (power) decides how deep a tape wall clear goes. An under-trained launch looks brave and ends early. An over-trained launch past your plan wastes minutes you could have spent collecting and shopping. Good players treat training as a measured prep step, not as AFK wallpaper and not as a skippable tutorial leftover.
If the whole loop is still fuzzy, read Getting Started first, then return here to tighten the station → wall segment.
Find your training target
Use a simple experiment for your current car:
- Train for a short block, smash once, note layers / wins.
- Train longer, smash again, compare.
- Stop extending training when clear depth stops improving meaningfully.
That “flat return” point is your practical target until you buy a better car or earn a rebirth multiplier. Re-run the experiment after garage changes — a new vehicle from How to Get Better Cars often shifts the first useful speed band.
Treadmill and station habits
| Habit | Why it matters |
|---|---|
| Walk a straight path to the station | Less time lost correcting |
| Watch completion feedback | Avoid leaving early or double-starting |
| Leave at target speed | Over-training past the plan burns the clock |
| Re-center camera before the wall | Straighter smashes clear more layers |
| Keep menus closed | Click-through delays ruin launch timing |
Optional treadmill game passes (White / Black) and Double Speed can raise comfort or pace — details live on Game Passes. Buy them only after you can name your bottleneck in one sentence.
Smash timing after a train
Commit quickly. The worst pattern is finishing a perfect train, then scrolling the entire shop before the wall. Either:
- Smash immediately if the goal is wins/coins this minute, or
- Buy one planned upgrade if you already hit a spend trigger, then train again
Indecision is a hidden training leak. Controls helps you open Shop / Rebirth without hunting icons for thirty seconds.
Farming wins the legitimate way
Wins come from successful tape progress. To raise wins per hour:
- Keep training targets honest for your car.
- Reduce failed early bounces with better alignment.
- Upgrade smash power when clears stall (see Cars Tier List).
- Consider x2 Wins only when clears are already consistent.
- Stack permanent multipliers via planned rebirths, not panic resets.
Pets and trails can support income or speed — covered in Pets and Trails — but they rarely fix a car two tiers too weak.
Session templates built around training
Micro session (10–15 minutes): Two or three train → smash cycles, one upgrade if affordable, stop.
Standard session (40–60 minutes): Repeat cycles, mid-session shop review, evaluate rebirth with the Rebirth Planner.
Long session: If Auto Rebirth is owned, still glance at multipliers so automation does not hide a stale garage. Rotate short breaks so station inputs stay precise.
Training mistakes that cost hours
- Smashing “to see what happens” with almost no speed
- Over-training for five minutes after returns already flattened
- Buying vanity trails mid-train block instead of finishing the wall
- Ignoring Double Speed when training — not car power — is clearly the bottleneck
- Using Inf Wins scripts as a substitute for stations (ToS risk; see Scripts Hub)
Codes, patches, and training feel
If stations suddenly feel slower or faster, assume a tuning change and re-test with Patch Notes. Codes will not replace training; when Active Codes lists a verified reward, redeem via How to Redeem Codes and route coins into the next power buy.
Mid-guide clip
The short embedded clip shows Cars VS Tape motion so you can match the pace of a live smash attempt. Use it as a timing reference, not as a shopping list — your training target still comes from your own car’s clear-depth tests.
Related pages
Train with a number in mind, smash on purpose, and let wins fund the next real upgrade. That is how Cars VS Tape players turn treadmill time into tape-wall depth instead of idle motion.
Frequently Asked Questions
Quick answers for Cars VS Tape progression questions.
How long should I train before smashing?
Train until clear depth stops improving for your current car, then smash. Re-test after car upgrades or rebirths.
Do treadmill game passes replace training skill?
No. They add comfort or throughput. You still need targets, clean launches, and smart spends.
Why are my wins so low?
Usually shallow clears from under-training or a weak car. Fix speed and smash power before buying x2 Wins.
Should I AFK on a treadmill all day?
Only if it serves a plan. Mindless over-training past your target wastes the minute you could spend collecting and shopping.
Where do Double Speed and x2 Wins fit?
See the Game Passes guide. Double Speed helps training pace; x2 Wins helps reward rate after solid clears.